
Last updated October 30, 2026
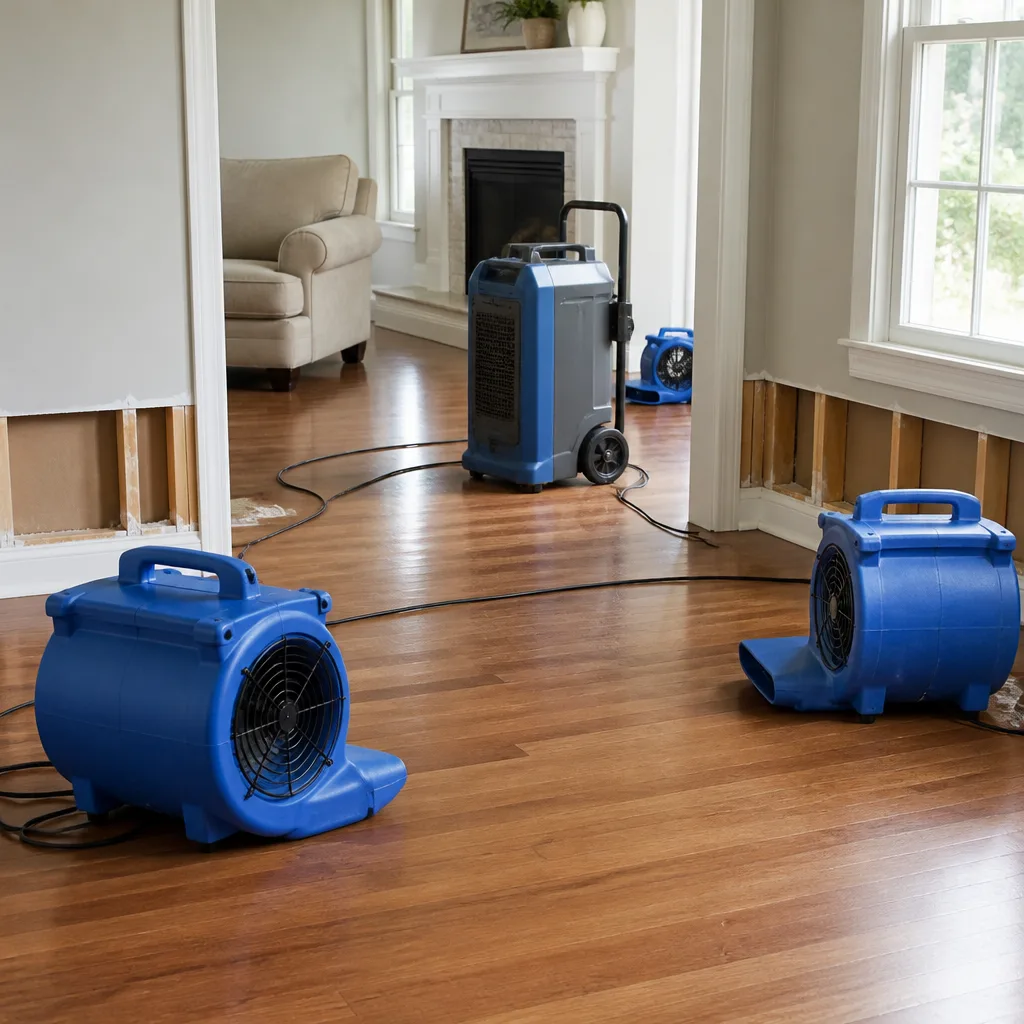 Water damage drying
 Fire & smoke cleanup
 Mold remediation
 Storm response
 Sewage cleanup
 Reconstruction
Free visual inspection and a written scope of work before any mitigation begins - photos, moisture readings, and drying logs go in your claim file
The scope we write is the scope we bill. Anything new gets shown to you, in writing, before we touch it.
Get your free estimateWater Damage Restoration Maintenance Checklist for San Bernardino Homeowners
Restoration crews can certify a structure dry to IICRC standard on day 14 and return to a callback on day 45. Not because the drying failed, but because the homeowner resealed the crawl space vents the following week and trapped vapor against wood that had just reached equilibrium moisture content. San Bernardino’s climate punishes that kind of mistake faster than most. This guide gives you a protocol-based maintenance checklist tied to how moisture actually behaves in Southern California building assemblies, so your Water Damage Restoration investment holds.
Restoration work we handle
Quick Answer
A post-restoration maintenance checklist for San Bernardino homeowners is a quarterly inspection routine that monitors the specific building assemblies your restoration crew dried: slab perimeter, crawl space vapor barrier, wall base plates, and attic sheathing. The key is comparing current moisture readings against the baseline numbers your crew documented at project closeout, then acting on any upward trend before re-wetting becomes a second restoration claim.
Table of Contents
- Why Structures Reabsorb Moisture After Professional Drying
- How to Read a Moisture Meter Against Your Baseline Readings
- San Bernardino’s Seasonal Humidity Swings and What They Mean for Your Home
- The Quarterly Inspection Checklist by Building Zone
- What a Healthy Crawl Space Vapor Barrier Looks Like 6 Months Post-Restoration
- When a Visual Check Is Enough vs. When to Call a Certified Hygienist
- Common Mistakes to Avoid
- When to Call a Professional
- Frequently Asked Questions
- The Bottom Line
Why Structures Reabsorb Moisture After Professional Drying
A structure certified dry to IICRC standard is not permanently immune to water. It has simply reached a moisture content that is safe for the materials present. Wood framing at 12% moisture content in San Bernardino is fine. The same wood at 18% starts to feed mold. The difference between those two numbers can come from something as small as a gutter that drains against the foundation, a bathroom exhaust fan that vents into the attic instead of outside, or a crawl space vent left open during a humid stretch of July.
What the drying process actually does is remove enough water from building materials that the air can finish the job without causing secondary damage. Professional-grade dehumidifiers from Dri-Eaz and Phoenix pull moisture out of both materials and air until readings stabilize. But stabilization is a snapshot, not a permanent condition. The moment the surrounding environment shifts, materials begin seeking equilibrium with the new conditions. Wood, drywall, and concrete are hygroscopic: they absorb and release moisture constantly based on ambient humidity and adjacent moisture sources.
In our experience, the most common reabsorption failures in San Bernardino involve changes the homeowner makes after we leave. A closed crawl space vent. A new planter bed built against the stucco. A drip line aimed at the slab edge. None of these are malicious. Most are invisible to someone who is not thinking in terms of vapor pressure differentials. That is why a maintenance checklist matters: it catches the environmental shift before it becomes a structural problem.
This is where water damage restoration in San Bernardino differs from surface cleanup. Real restoration includes a final documentation package with moisture readings by zone. That package is your maintenance baseline. Without it, you are guessing. With it, you are monitoring.
How to Read a Moisture Meter Against Your Baseline Readings
Your restoration crew should have left you a final moisture map: readings from each affected zone, taken with professional meters at project closeout. If you do not have one, request it. Any IICRC-certified team doing documented drying will provide this as standard practice. Those numbers are the foundation of your maintenance protocol.
Consumer-grade moisture meters are inexpensive and widely available. They are not as precise as the professional units restoration technicians use, but they are consistent enough for trend monitoring if you use the same meter, in the same spots, each time. What matters is not the absolute number your meter shows, but the difference between that number and your baseline. Or, if you did not receive a baseline, the difference between one quarter and the next.
Here is the protocol we recommend:
- Purchase a pinless moisture meter with a wood and drywall setting. Pinless meters scan through material surfaces without leaving holes, which makes quarterly checks quick and non-invasive.
- Map your inspection points. Choose the same 8 to 12 spots every time: bottom plates of exterior walls in the previously affected rooms, the slab perimeter near any exterior door, subfloor access points if you have a raised foundation, and attic sheathing near roof penetrations.
- Record readings in a simple log. Date, spot, reading, and any visual notes. A three-column note on your phone works fine.
- Look for trends, not single spikes. One high reading after a rainstorm may be normal. Three consecutive quarterly increases at the same spot is a signal to investigate.
- Compare material readings to the material standard. For wood in San Bernardino, you want to stay under 14% moisture content. Drywall should read dry on the meter’s drywall setting unless there is active moisture behind it. Concrete slabs will always show some moisture; the question is whether it is increasing.
The critical rule: a consumer meter confirms a concern; it does not diagnose one. If your readings trend upward, call a professional team with calibrated equipment and the training to interpret what the numbers mean in the context of your specific construction type. Our Choosing the Right Damage Restoration Brand: A Buyer’s Guide for San Bernardino explains what credentials to look for. A restoration technician using professional-grade equipment can differentiate between surface moisture, trapped vapor, and an active leak in ways a $40 meter cannot.
We have seen homeowners in San Bernardino neighborhoods with raised foundations panic over subfloor readings that were simply ambient humidity from an open crawl space vent near a planter. A professional moisture assessment costs far less than unnecessary wall cutouts.
San Bernardino’s Seasonal Humidity Swings and What They Mean for Your Home
San Bernardino sits in a semi-arid climate with long dry stretches and two distinct moisture events: winter rain systems that arrive between November and March, and the monsoon micro-seasons that push humid air up from the Gulf of California between July and September. The monsoon periods are the sneaky ones. Homeowners expect wet winters. They do not expect a week of 65% relative humidity in August, when the air conditioner is running and the crawl space is vented.
During monsoon stretches, the air itself becomes a moisture source. Building assemblies that dried to equilibrium in May can reabsorb vapor from the air in July without a single drop of rain falling. This is especially true for:
- Wall base plates sitting on concrete slabs, where the concrete acts as a thermal mass and the humid air condenses against cooler framing.
- Attic sheathing near roof penetrations, where warm humid air enters through vent pipes, plumbing stacks, or exhaust fans that terminate in the attic instead of outside.
- Subfloor framing in raised foundations where crawl space vents admit humid air against cooler floor joists.
- Slab perimeter where exterior humidity meets the cool slab edge and condensation forms at the bond line where drywall or baseboard meets concrete.
The practical takeaway: your quarterly inspection matters most in October, after the monsoon season winds down, and again in April, after the winter rain systems taper off. Those are the moments when trapped moisture has had time to accumulate and show measurable change. A January inspection during an active rain system may catch active leaks; an October inspection catches the accumulated vapor damage from the monsoon months.
Our mold remediation work in San Bernardino follows a seasonal pattern. We see the highest volume of re-wetting callbacks in late September and early October, when homeowners finally inspect attic spaces and find the sheathing has been quietly absorbing monsoon humidity for six weeks straight.
The Quarterly Inspection Checklist by Building Zone
The following protocol takes about 45 minutes and requires nothing more than a flashlight, a moisture meter, and a willingness to crouch. Run through it four times a year, with extra diligence in April and October as noted above.
1. Slab Perimeter (10 minutes)
Walk the entire exterior perimeter of the home, focusing on the area where the stucco or siding meets the concrete slab. Look for:
- Gaps, cracks, or separations in the exterior finish that could admit rain splash or irrigation overspray.
- Soil or mulch piled against the slab edge, which holds water against the structure and creates a moisture bridge.
- Drip irrigation emitters aimed within 12 inches of the foundation line.
- Downspouts that discharge next to the slab rather than extending at least 4 feet away.
- Efflorescence: the white powdery mineral deposits that signal water has migrated through concrete.
Inside, check the baseboards in rooms that share an exterior wall with any of the conditions above. Run your moisture meter along the bottom plate area where the baseboard meets the floor. A consistent upward trend over two consecutive quarters warrants professional investigation.
2. Subfloor and Crawl Space (15 minutes, if accessible)
Raised foundations are common in older San Bernardino neighborhoods. If your home has a crawl space, inspect the following:
- Vapor barrier condition: look for tears, gaps at seams, or edges that have pulled away from the foundation walls. A healthy barrier covers the entire ground surface with 6 to 12 inches of overlap at every seam, and runs up the foundation wall at least 6 inches.
- Standing water or damp soil patches after a rain event. Saturated soil under a home releases vapor for weeks.
- Subfloor insulation that is sagging, stained, or falling away from floor joists. Wet insulation holds water against wood and accelerates decay.
- Wood staining or fungal growth on floor joists, sill plates, or girders. Early-stage fungal activity often appears as light discoloration before visible mold colonies form.
- Plumbing supply or drain lines showing condensation or drip marks on the surrounding wood.
3. Wall Base Plates (10 minutes)
Focus on rooms that were part of the original loss or adjacent to it. Pay special attention to exterior wall sections under windows, behind furniture placed against exterior walls, and in closets on exterior corners where airflow is minimal.
- Run the moisture meter along the baseboard at floor level, moving slowly across each section.
- Press the baseboard lightly to feel for softness or movement. Drywall that has reabsorbed moisture loses dimensional stability and will flex or crumble under pressure.
- Check for paint bubbling, nail pops, or cracking caulk at the baseboard-to-wall and baseboard-to-floor joints. These are early visual indicators of moisture movement behind the material.
- Look for musty odor in corners and closets. Odor often appears before visible staining.
4. Attic Sheathing Near Roof Penetrations (10 minutes)
Attic inspection is the most overlooked part of post-restoration maintenance because it is hot, dusty, and inconvenient. It is also where slow re-wetting causes the most expensive damage.
- Inspect roof sheathing around every plumbing vent, exhaust fan penetration, and HVAC boot for dark staining, streaking, or condensation trails.
- Confirm that bathroom and kitchen exhaust fans terminate through the roof or through an exterior wall, not directly into the attic space. A single bathroom fan venting into an attic can add gallons of vapor per week during humid months.
- Check for daylight or water staining around pipe boots, electrical mast penetrations, and chimney flashing.
- Run your moisture meter across representative sheathing sections, especially on the north-facing roof plane and near ridge vents where condensation collects first.
We have used San Bernardino Restoration Co home documented drying protocols to establish baselines for hundreds of attics across San Bernardino, and the pattern is consistent: sheathing near roof penetrations reabsorbs moisture faster than any other attic material. It is the single highest-value inspection point on this entire list.
What a Healthy Crawl Space Vapor Barrier Looks Like 6 Months Post-Restoration
Six months after a professional restoration that included crawl space drying, your vapor barrier should look nearly the same as the day the crew left. The plastic should be flat against the ground, seams intact and overlapped, edges running up the foundation wall, and no standing water visible anywhere. Here are the specific visual cues that matter:
Healthy indicators:
- Seams overlap by 6 to 12 inches and lie flat, with no curling or separation.
- The barrier surface is dry, with no condensation beads or pooled water.
- Edges are mechanically fastened or weighted against the foundation wall, not flapping loose.
- The ground beneath the barrier, visible at any inspection tear or cut, is dry or only slightly damp.
- No mold spots, staining, or discoloration on the barrier surface.
- Pier supports and posts pass through the barrier with sealed boots or tape at the penetration.
Early warning signs that re-wetting is occurring:
- Condensation on the underside of the barrier, visible at edge gaps or seam openings. This indicates soil moisture is rising and being trapped beneath the plastic, which is normal for the barrier’s function but signals the ground moisture level is elevated.
- Water pooling on top of the barrier after rain. This points to a drainage issue, not a barrier failure. The ground is saturating faster than it drains, and water is finding its way under or around the barrier edges.
- Barrier edges pulling away from the foundation wall due to water movement underneath, which lifts and displaces the material.
- A persistent musty odor in the crawl space even when visual conditions seem dry. Odor is the first warning sign of moisture activity behind materials, before visible mold appears.
- Insulation above the barrier that is darkening, sagging, or showing water stains where it contacts the floor joist.
If you see water pooling on top of the barrier after a rain event in San Bernardino, that is a grading or drainage issue. The barrier is doing its job by containing the moisture; the problem is that water is entering the crawl space faster than the surrounding soil can absorb it. That usually means downspout discharge, site grading, or foundation drainage needs correction. This is a call to a professional, not a quarter to quarter monitoring situation.
San Bernardino’s older neighborhoods, especially those with raised foundations in the flatlands south of Highland Avenue, tend to have clay-heavy soils that drain slowly. A vapor barrier over clay soil in a wet winter acts as a swimming pool liner if exterior drainage is not managed. Our fire damage restoration work in San Bernardino taught us something surprising: homes that survived a fire event often have the most neglected crawl spaces, because the homeowners’ entire focus was above-grade. The same neglect pattern applies after water damage if no one sets a maintenance routine.
When a Visual Check Is Enough vs. When to Call a Certified Hygienist
A quarterly visual inspection with a consumer moisture meter is sufficient for monitoring a structure that was professionally dried and has stable readings. You are looking for change, not making diagnostic decisions. Visual cues matter: staining, warping, odor, efflorescence, soft drywall, bubbling paint. If you see any of these in a previously dried zone, the situation warrants professional assessment.
But there are specific scenarios where a visual check is not only insufficient, it may give false reassurance. Call a certified industrial hygienist or a restoration firm with documented drying capability in these situations:
- Visible mold growth in a previously remediated area. If mold returns after professional remediation, something structural has not been addressed. A visual check confirms the symptom; a hygienist identifies the cause.
- Suspected mold inside wall or ceiling cavities. Musty odor with no visible growth, or moisture meter readings trending up behind drywall, indicates hidden contamination. Cutting into the cavity without air sampling can spread spores throughout the living space.
- Health symptoms appearing in household members. New respiratory issues, persistent headaches, or worsening allergies that improve when away from home point to a hidden air quality problem. This is a medical and environmental question, not a maintenance checklist item.
- Post-remediation clearance testing. If you are selling a San Bernardino home that previously had water damage and mold remediation, buyers or lenders may require professional clearance documentation. This requires air sampling and surface testing by a third-party hygienist, not a visual pass.
- A second water event in the same area. If a wall that was previously dried gets wet again, the risk of secondary contamination is higher than with a first-event loss in an untouched area. Residual spores, disrupted materials, and incomplete drying from the first event can all contribute to more aggressive mold growth the second time.
For everything else, the quarterly visual check with documented readings is genuinely sufficient. The key is consistency. A single inspection tells you very little. Four inspections a year, logged and compared, gives you the trend data that matters. Explore more guides & resources for maintaining your home after professional restoration.
San Bernardino Restoration Co works with independent hygienists throughout the San Bernardino area and follows IICRC standard protocols for post-remediation verification. You do not need to navigate the industrial hygiene world alone when the time comes.
Common Mistakes to Avoid
- Sealing crawl space vents without assessing vapor conditions first. In San Bernardino’s dry climate, vented crawl spaces work fine most of the year. Sealing vents without installing a proper dehumidification system can trap monsoon humidity against wood that was just dried to equilibrium.
- Trusting a consumer moisture meter without comparing to the restoration baseline. A reading of 15% means nothing in isolation. You need to know if that number is up, down, or stable relative to the professional baseline your crew documented at closeout.
- Ignoring the irrigation system after restoration. A sprinkler head that sprays the stucco every other day will re-wet a wall faster than any rainstorm. Walk the perimeter with the irrigation running at least once per quarter.
- Venting bathroom fans into the attic. If your home was built before current code requirements, or if a previous owner took shortcuts, your bathroom exhaust may terminate in the attic. This pumps warm, humid air directly onto sheathing and framing. Fix it once, not quarterly.
- Assuming “dry to the touch” means dry. Building materials can feel dry on the surface while holding 15-20% moisture at the core. Touch is not a moisture reading. The meter is.
- Letting quarterly inspections slip in San Bernardino’s dry season. May through August feels safe because the air is dry. But July and August bring monsoon humidity. Skipping the October inspection means missing the accumulated effect of that seasonal shift.
- Skipping documentation. A moisture log with no entries from the last eight months is worse than no log at all, because it gives the illusion of monitoring without the benefit. Set a calendar reminder and keep the log current.
When to Call a Professional
Call a restoration professional if your quarterly moisture readings show an upward trend at any inspection point for two consecutive quarters, if you find active water intrusion you cannot source, if you see visible mold growth return to a previously remediated area, or if you notice soft drywall, sagging insulation, or a persistent musty odor in a dried zone. These are not maintenance items. These are early-warning signs of a structural moisture problem that needs diagnostic equipment and professional interpretation. The cost of a professional assessment is a fraction of a second full restoration. San Bernardino Restoration Co offers free estimates in San Bernardino, call (877) 358-7678 to schedule.
Frequently Asked Questions
Check moisture readings quarterly, with extra diligence in April after the winter rain season and October after the monsoon humidity period. The key is consistency and comparing readings to your professional baseline, not the absolute number on any single check.
Wood framing should settle under 14% moisture content in San Bernardino’s dry climate, and drywall should read dry on the meter’s drywall setting. Concrete slabs will always show some moisture; the concern is an upward trend across consecutive quarters, not the specific number.
A consumer moisture meter is fine for trend monitoring against your documented baseline, but it is not a diagnostic tool. If your readings trend upward or you see visual signs of re-wetting, call a professional with calibrated equipment and the training to interpret readings in context with your specific construction type.
Musty odor in a crawl space without visible water usually means moisture is trapped in soil, insulation, or building materials and is releasing vapor into the air. In San Bernardino’s clay-heavy soils, this can happen after a wet winter even when the surface appears dry. Check your vapor barrier condition and exterior drainage, then call a professional if the odor persists.
No, annual mold inspection is unnecessary for a home that was professionally dried and has stable moisture readings. Your quarterly visual inspection with a moisture meter is sufficient for monitoring. A hygienist is warranted when visible mold returns, hidden contamination is suspected, or clearance documentation is needed for a real estate transaction.
Investigate the exterior conditions at that spot first: irrigation overspray, gutter discharge, grading, soil contact with the slab, or a plumbing line in the wall. If you cannot find an exterior cause, call a professional restoration team. A single high spot that stays high signals a localized moisture source that needs to be located and corrected, not monitored indefinitely.
The Bottom Line
Post-restoration maintenance in San Bernardino is not about cleaning. It is about monitoring the specific moisture conditions that professional drying created, and catching the environmental shifts that cause building materials to reabsorb water. Your baseline moisture map is the most valuable document in your restoration file. Your quarterly inspection routine is the most valuable habit. The failure points are predictable: slab perimeter, crawl space vapor barrier, wall base plates, attic sheathing near penetrations. The seasonal triggers are predictable too: winter rain systems and monsoon humidity stretches. None of this requires specialized equipment or training. It requires a flashlight, a $40 moisture meter, a calendar reminder, and the discipline to log what you see. The alternative is discovering a second moisture event months after it started, when the fix is measured in demolition instead of prevention. Call San Bernardino Restoration Co at (877) 358-7678 if you need a professional baseline established, a moisture assessment after an upward trend, or a full restoration assessment.
Written by the team at San Bernardino Restoration Co, serving San Bernardino since 2016.
See the difference
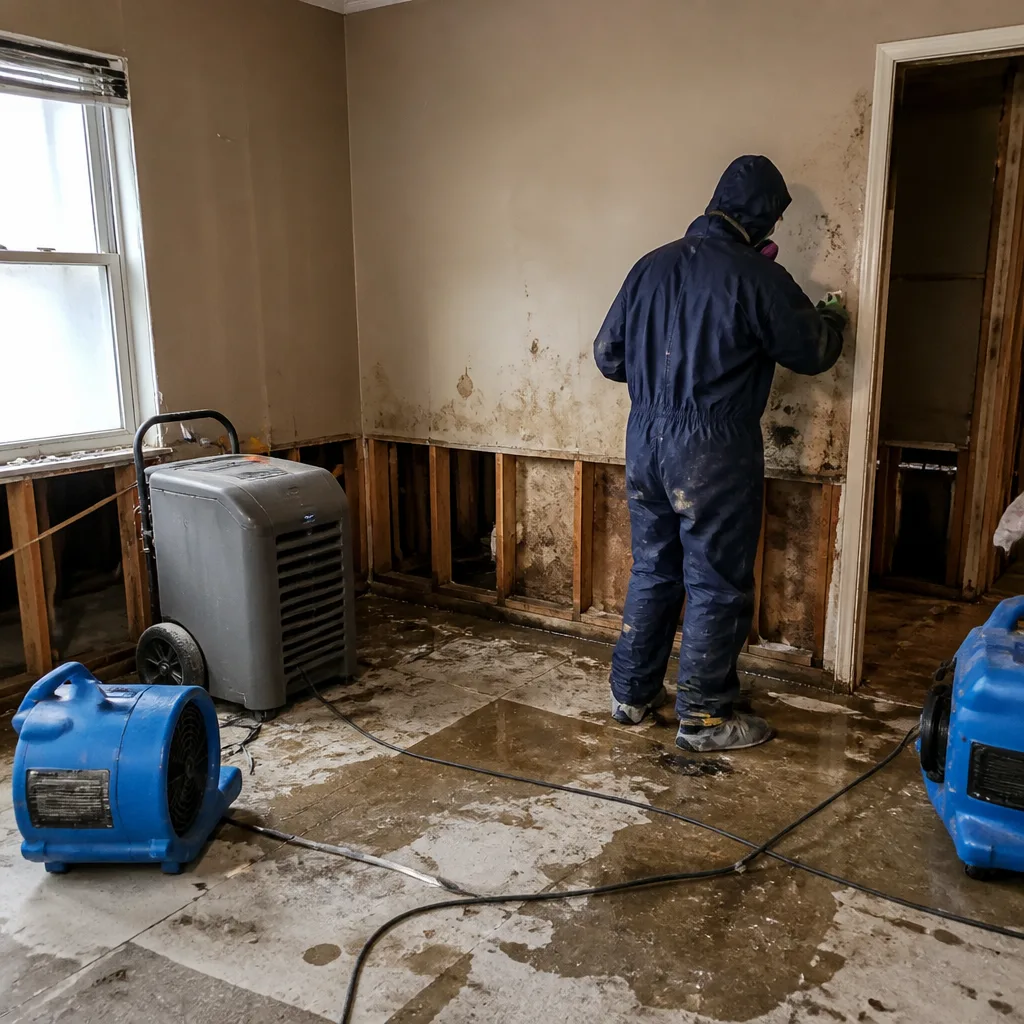 Before
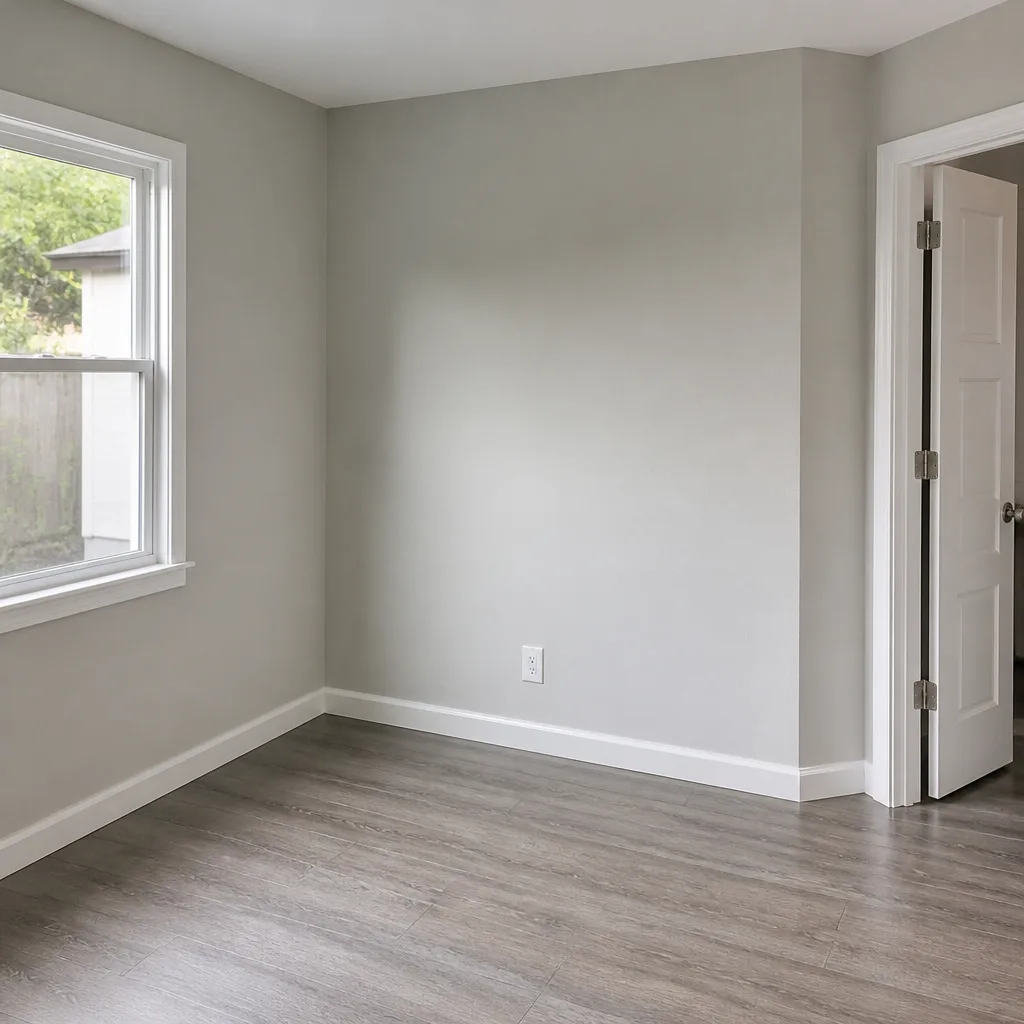 After
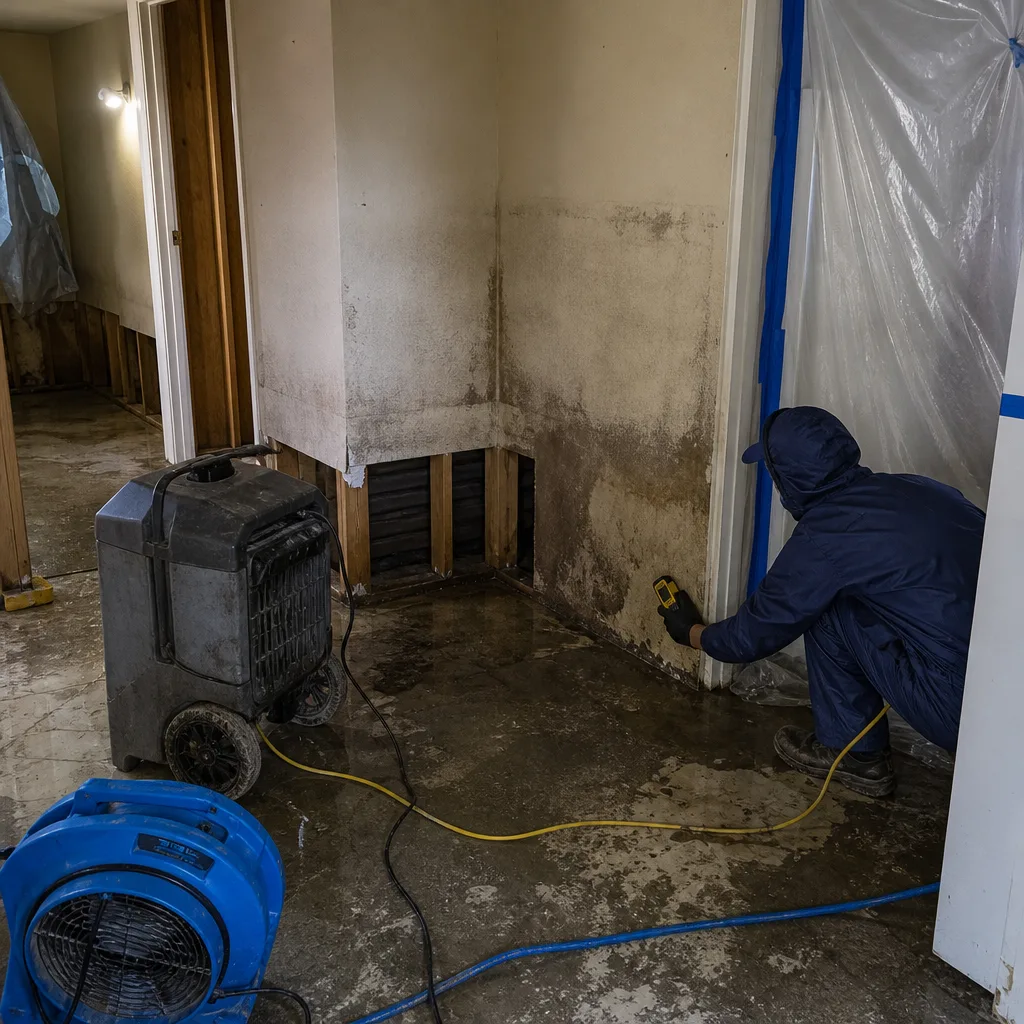 Before
 After
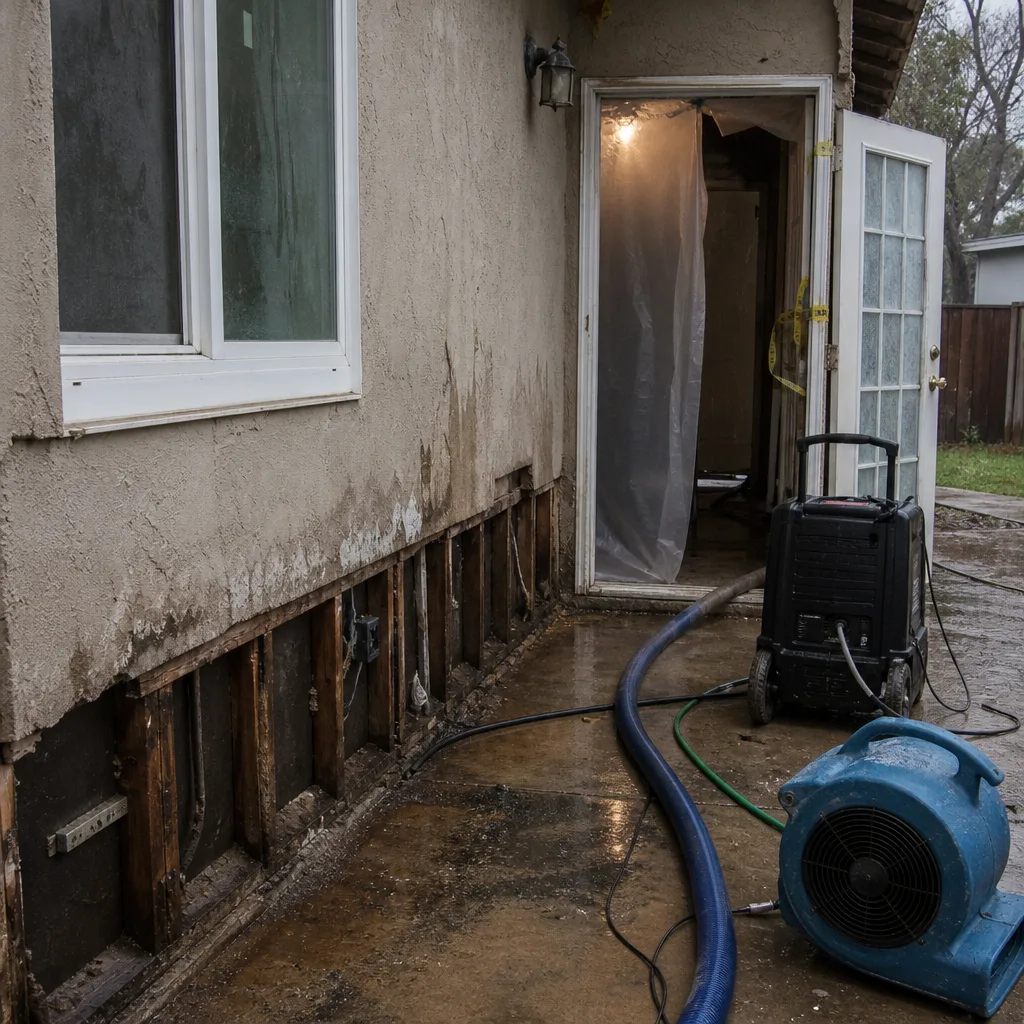 Before
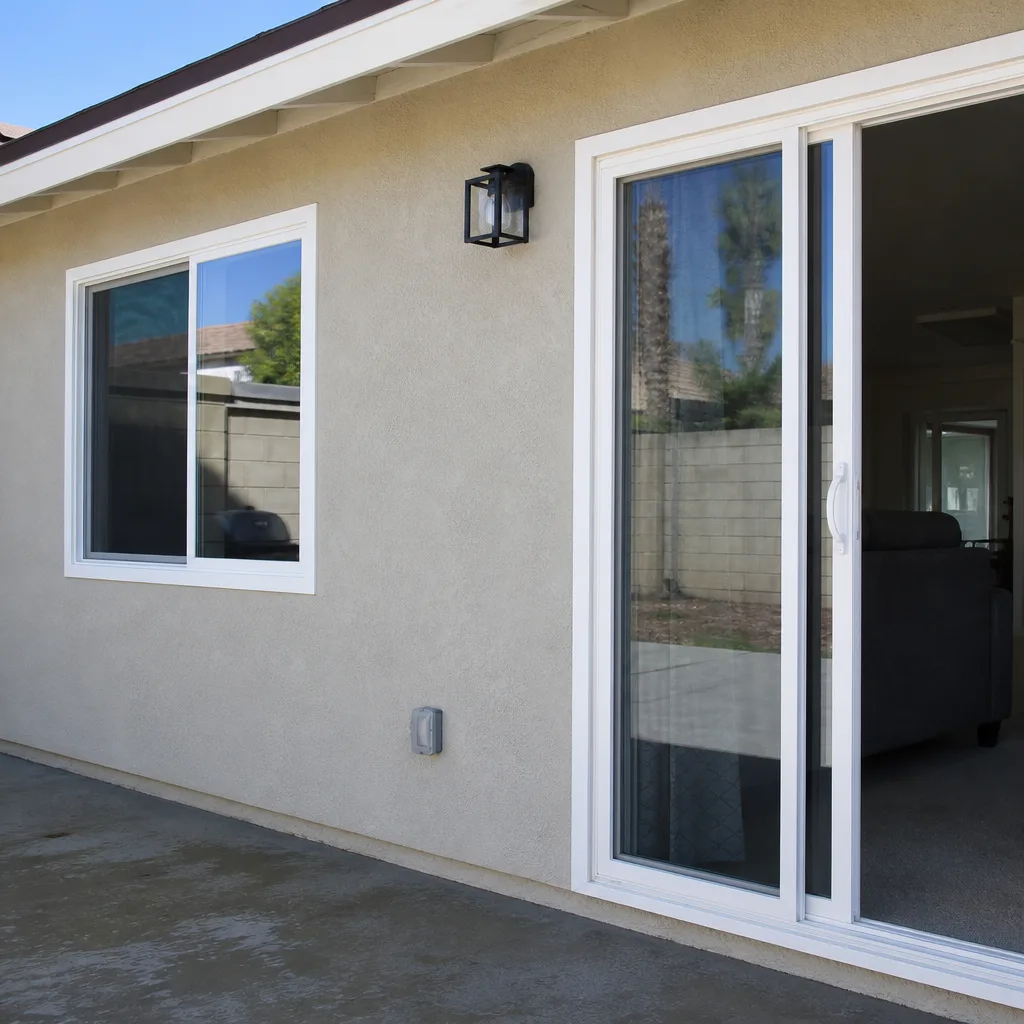 After